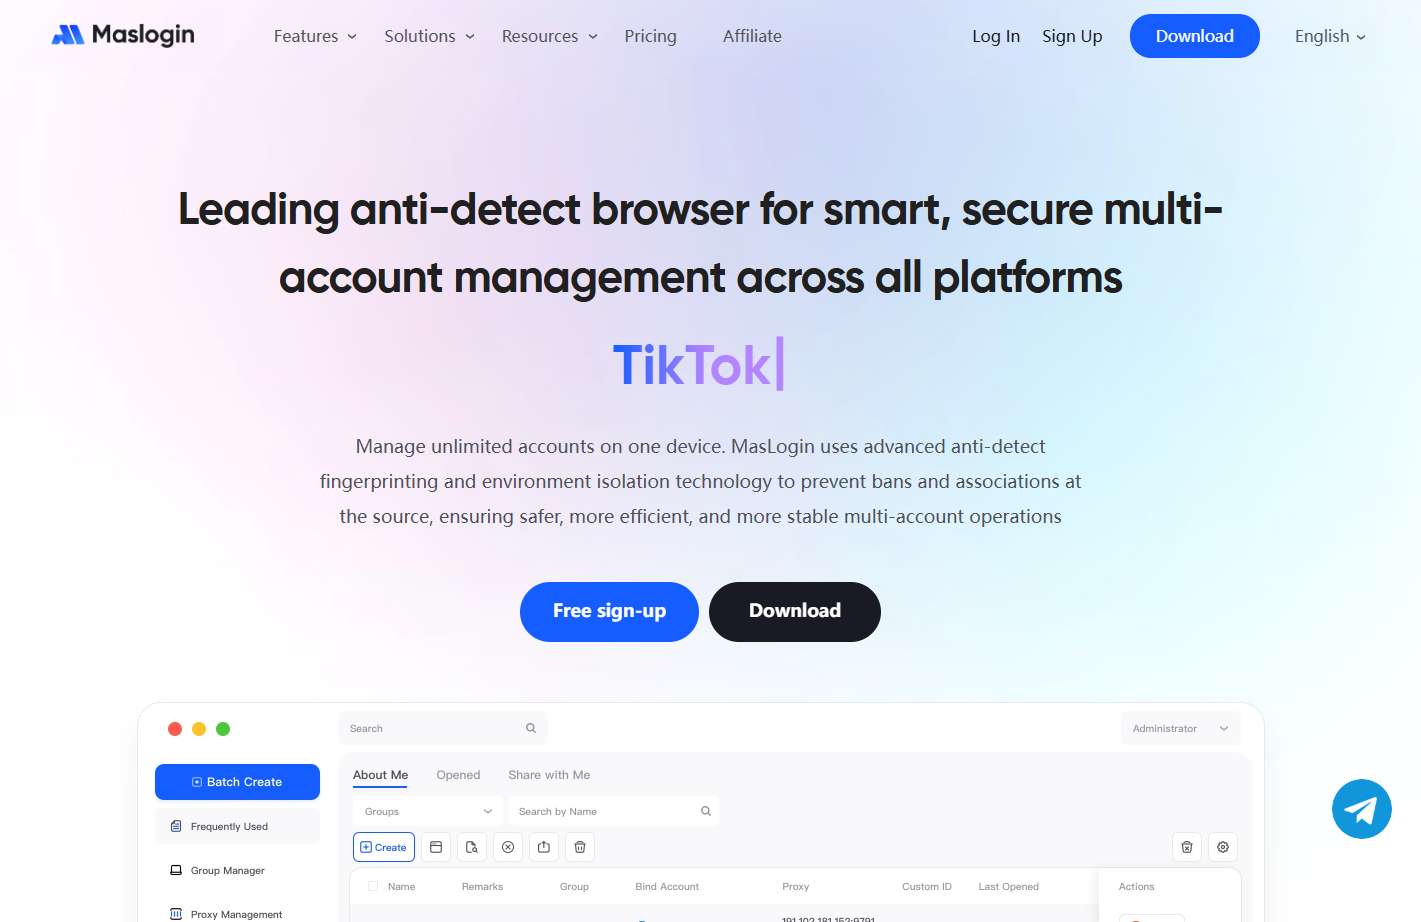
In social media marketing, personal branding, or cross-border e-commerce operations, X (formerly Twitter) has become an indispensable traffic portal. Whether you are a content creator, a brand marketer, or a team managing multiple accounts, mastering the correct account registration method is the first step.
However, many users encounter various problems when registering X accounts: not receiving verification codes, being banned immediately after registration, multi-account logins triggering risk control... These issues not only waste time but can also lead to permanent account suspension.
This article will guide you through the actual registration process, detailing how to successfully create an X account, and combined with MasLogin Anti-Detection Browser, teach you how to securely manage multiple accounts and avoid the risk of being banned.
X (Twitter) Account Registration Complete Steps
Step 1: Visit the Registration Page and Choose a Registration Method
Go to twitter.com or x.com. If you are already logged into another account, you need to log out first.
X offers three registration methods:
- Google Account Quick Login: Suitable for individual users for quick registration.
- Apple ID Quick Login: The preferred choice for iOS users.
- Email/Phone Number Registration: More flexible, suitable for users who need fine-grained control.
Click "Create Account" and select your preferred registration method according to the prompts.
Tip: If you plan to manage multiple accounts, it is recommended to use email registration to avoid association risks that may arise from third-party login methods.
Step 2: Fill in Basic Information
The system will ask you to fill in:
- Name: Can be a real name or a nickname.
- Email Address: It's recommended to use a separate email address to avoid multiple accounts sharing the same email.
- Date of Birth: Must be a real date, as X restricts certain content based on age.
After filling in the information, click "Next".
Common Issue: If the system prompts "This email address is already in use," it may be because you have previously registered an account with this email, or it has been bound to another account.
Step 3: Complete Human Verification
X will pop up a verification window, asking you to complete tasks like puzzles or image selection. This step is to confirm that you are not a robot.
After completing the verification, the system will send a verification code to your email address.
Step 4: Verify Email and Set Password
Open your email, find the verification email from X, copy the verification code, and paste it into the registration page.
Next, set a strong password (it is recommended to include uppercase and lowercase letters, numbers, and symbols), and then click "Next".
Step 5: Complete Your Profile
After the account is successfully created, X will guide you to:
- Upload a profile picture (can be skipped).
- Set a username (must be less than 15 characters and globally unique).
- Select interest tags (to help the system recommend content).
Once these steps are completed, your X account will be officially activated.
Why Are Some Accounts Banned After Registration?
Although the registration process seems simple, many users receive account suspension notifications shortly after registering. Common reasons include:
1. Abnormal IP Address
- Using free or low-quality proxy IPs, or multiple accounts sharing the same IP address.
- Frequently switching IP addresses, triggering X's risk control system.
2. Duplicate Browser Fingerprints
- Multiple accounts logged in on the same device with identical browser fingerprints (e.g., Canvas, WebGL, User-Agent).
- X will mark these accounts as "associated accounts" and ban them in batches.
3. Abnormal Behavior
- Immediately following, liking, or tweeting extensively after registration.
- Using automated scripts to operate the account.
4. Email or Phone Number Issues
- Using temporary email addresses or virtual phone numbers for registration.
- Binding the same email or phone number to multiple accounts.
How to Securely Manage Multiple X Accounts with MasLogin
If you need to manage multiple X accounts (e.g., brand matrices, ad campaigns, community management), a standard browser cannot meet your needs. In this case, MasLogin Anti-Detection Browser can help you securely manage hundreds of accounts on one computer, avoiding the risk of being banned.
MasLogin's Core Advantages
- Independent Browser Environment: Each account runs in a completely isolated browser environment, without affecting each other.
- Real Browser Fingerprints: Automatically generates unique fingerprint information such as Canvas, WebGL, fonts, simulating real user behavior.
- Proxy IP Management: Supports configuring independent proxy IPs for each account, preventing IP association.
- Team Collaboration: Multiple users can manage different accounts simultaneously with fine-grained permission control.
MasLogin Practical Guide: Step-by-Step Implementation
Step 1: Download and Install MasLogin
Go to the MasLogin Official Website and download the client suitable for your operating system (supports Windows, macOS).
After installation, register and log in to your MasLogin account.
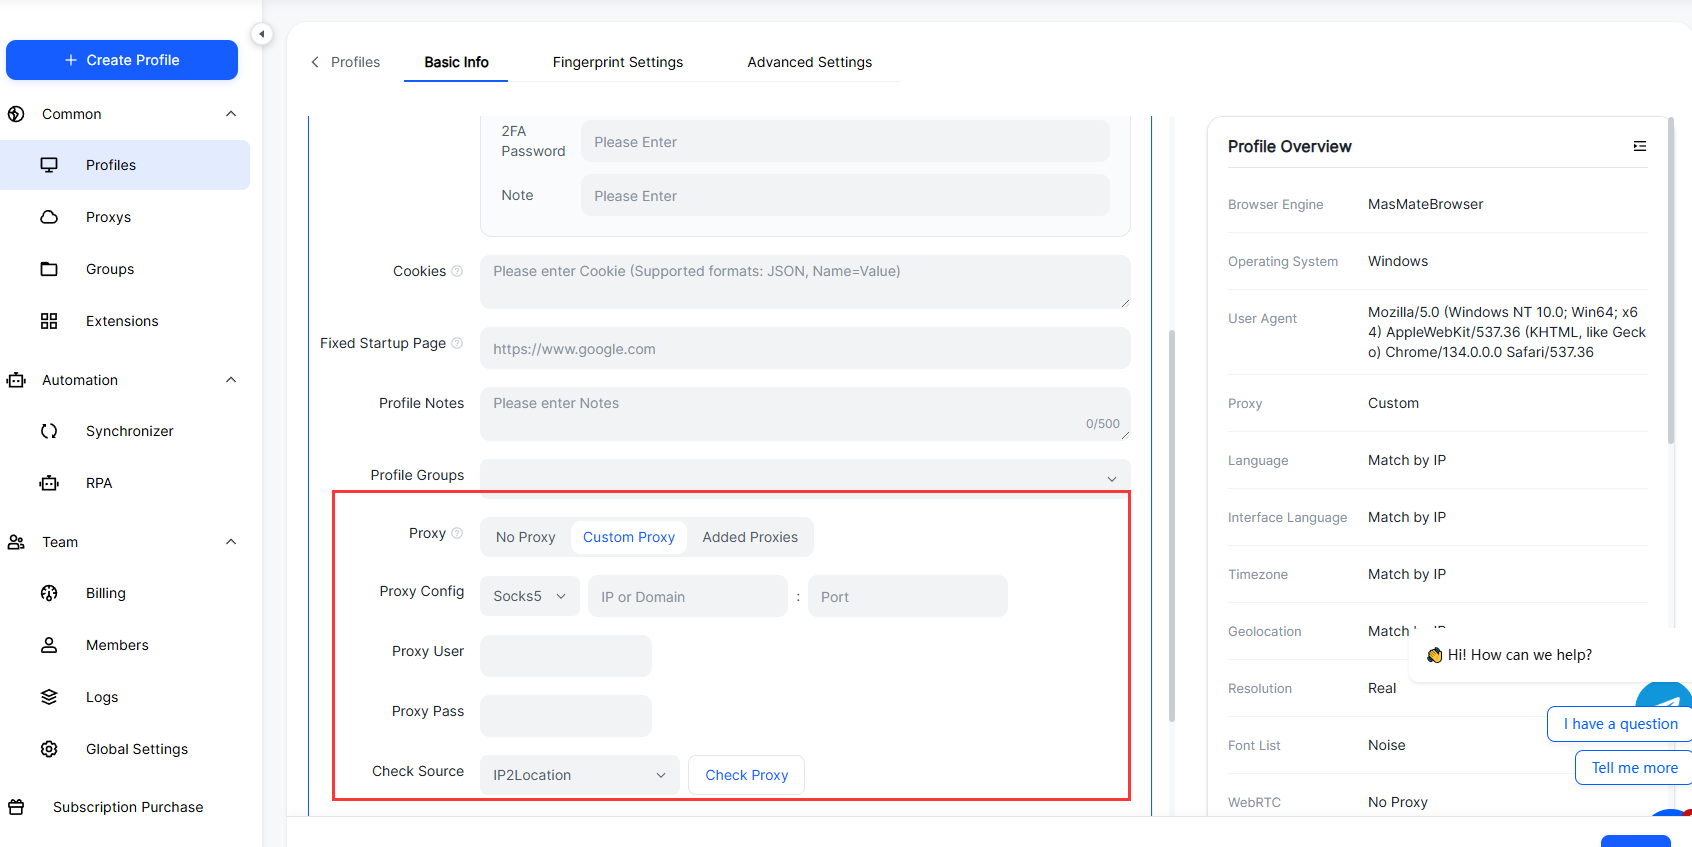
Step 2: Create a Browser Environment
![P@E]KBFN9[@X_E]CS3QOGJA.png](https://masmate.service-online.cn/production/files/0/1765537940494560134_56099.png)
On the MasLogin main interface, click "Create Browser Environment":
- Name the Browser: Set an easily identifiable name for this account (e.g., "X-Brand-Account-01").
- Select Browser Fingerprint: MasLogin will automatically generate random fingerprints, or you can manually adjust parameters like User-Agent, resolution, timezone, etc.
- Configure Proxy IP:
- Save and Launch: Click "Save," then click "Launch Browser."
Step 3: Register X Account in an Independent Environment
After launching the browser, you will see a brand new Chrome browser window (but its internal fingerprints have been customized).
Now, follow the registration steps outlined earlier to complete the X account registration within this browser:
- Visit x.com
- Fill in your name, email, and date of birth
- Complete human verification
- Verify your email and set a password
Key Points:
- Use a separate email address and proxy IP for each account.
- Avoid registering multiple accounts within the same browser environment.
- After registration, you can save this browser environment in MasLogin and directly open it for login next time.
Step 4: Daily Usage and Risk Prevention
After registration, pay attention to the following points during daily use:
Individual Users:
- Before logging into an X account each time, open the corresponding MasLogin browser environment first.
- Avoid frequent account switching; maintain an independent browser environment for each account.
- Periodically update proxy IPs to avoid using the same IP for extended periods.
Team Collaboration:
- Create a team in MasLogin and assign account permissions to each member.
- Members can only access authorized browser environments and cannot see the cookies or login information of other accounts.
- Permission can be set to "read-only" to prevent accidental operations.
Suggestions for Reducing Risk Control Risk:
- After registering a new account, first complete your profile, upload a profile picture, and fill in your bio.
- Gradually increase the number of follows, avoiding following hundreds of accounts at once.
- Simulate real user behavior: like, retweet, comment, and browse tweets, rather than just posting ads.
- Avoid using automated scripts, as X's anti-cheat system detects abnormal behavior.
Advanced Techniques for Multi-Account Management
1. Use Different Browser Fingerprints
Even with different proxy IPs, if the browser fingerprints are identical, X may still consider the accounts associated. MasLogin supports generating unique fingerprints for each account, including:
- Canvas fingerprint
- WebGL fingerprint
- Audio fingerprint
- Font list
- Screen resolution
2. Regularly Change Proxy IPs
Using the same IP address for an extended period may be flagged as a "commercial account" or "bot." Recommendations:
- Change proxy IPs every 1-2 weeks.
- Prioritize using residential proxies over datacenter proxies.
3. Simulate Real User Behavior
- Log in to accounts daily, browse tweets, like, and comment.
- Avoid batch operations in a short period (e.g., following 100 accounts consecutively).
- Use MasLogin's "automation script" feature (use with caution), but do not over-rely on it.
Frequently Asked Questions
What should I do if the registration prompts "This email address is already in use"?
This may be because you have previously registered an account with this email, or it has been bound to another account. Solutions:
- Try to recover the password to see if you can regain access to the old account.
- Use a different email address to register again.
Why was my account banned immediately after registration?
Common reasons include:
- Using low-quality proxy IPs or multiple accounts sharing the same IP.
- Duplicate browser fingerprints, with X detecting account association.
- Mass following or tweeting immediately after registration, triggering anti-cheat mechanisms.
Solution: Use MasLogin to configure independent environments and proxy IPs for each account.
Can MasLogin completely prevent accounts from being banned?
MasLogin can significantly reduce the risk of being banned, but it cannot guarantee it 100%. Recommendations:
- Comply with X's community rules and do not post violating content.
- Simulate real user behavior and avoid abnormal operations.
- Regularly update proxy IPs and browser fingerprints.
How to batch register multiple X accounts?
While you can create multiple browser environments in MasLogin, it is not recommended to batch register in a short period. Best practices:
- Register 1-3 accounts per day.
- Use a separate email address and proxy IP for each account.
- After registration, focus on account nurturing (completing profile, normal usage) before using them for marketing or promotion.