


by · MasLogin · December 2, 2025
RapidProxy Overview
RapidProxy (Rapidproxy.io) is a proxy network service operated by Flux Stream Network Limited, positioned as an affordable, easy-to-integrate provider of residential and static (ISP) residential proxies. It offers a large ethically sourced residential IP pool (the site highlights 90M+ scale and broad country coverage), supports HTTP/HTTPS/SOCKS5, and includes features like rotating or sticky sessions, username/password authentication, and country/city-level targeting—commonly used for data collection, SEO workflows, ad verification, social media management, and more.
Proxy Configuration Guide
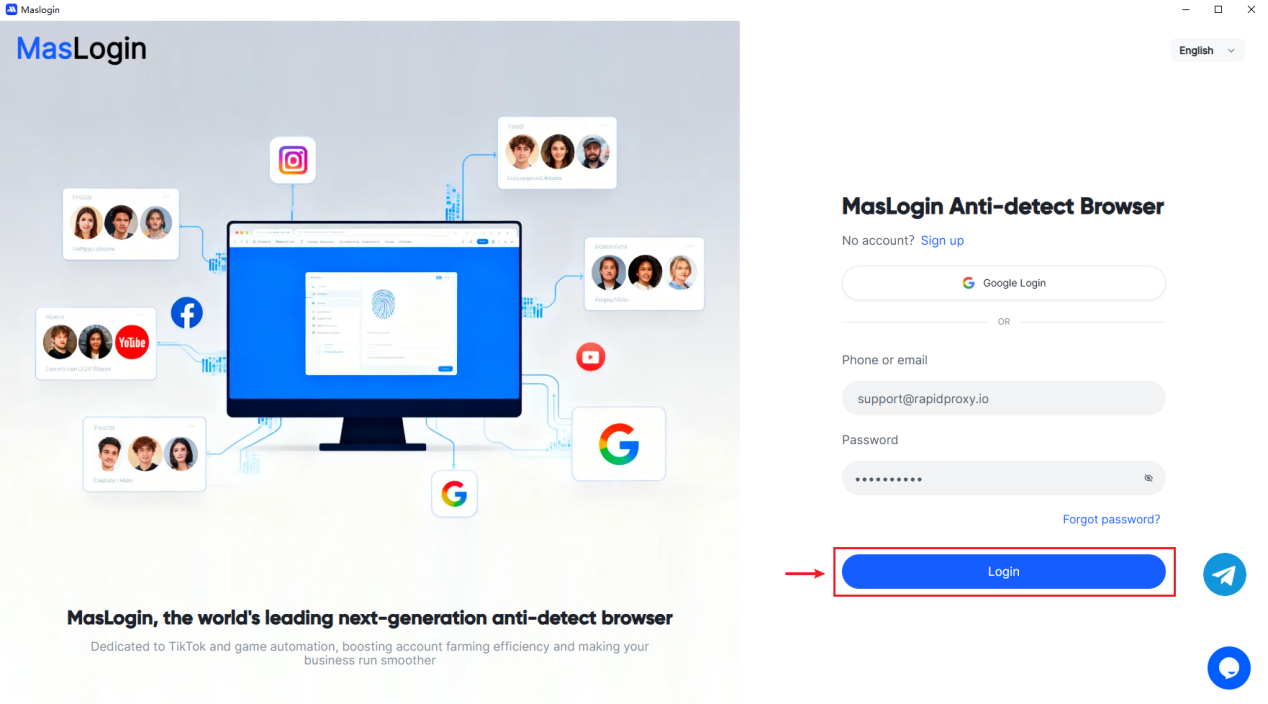
Step 1: Download and Install MasLogin
Open the MasLogin and click Login to access your account.
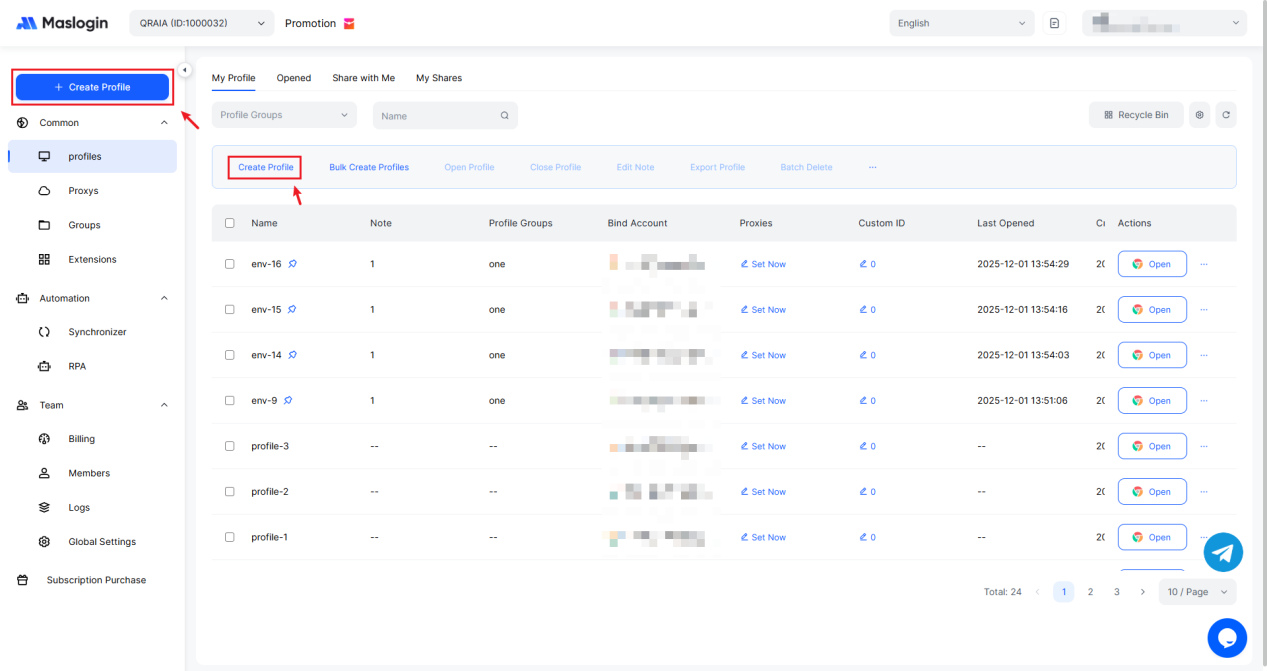
Step 2: Create a New Proxy Profile
Click on "Create Profile" at the top of the left column or under "Profiles" to begin creating a new configuration.
Step 3: How to Get Your RapidProxy Proxies
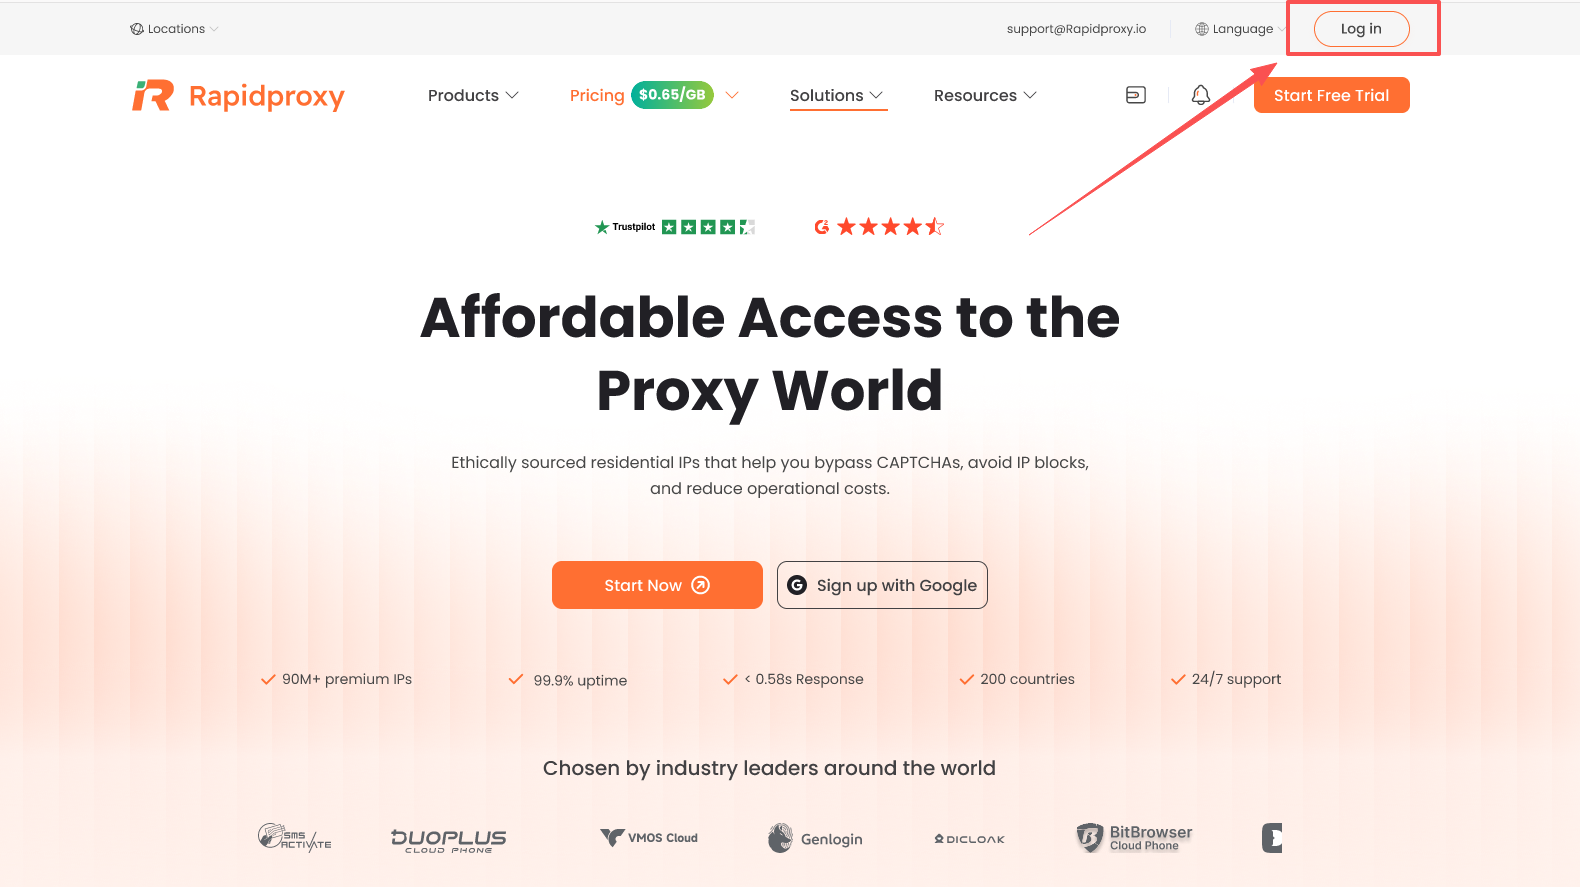
1. Log in to the RapidProxy website
Visit https://www.rapidproxy.io/?ref=masn
Click 【Log In】 to access your RapidProxy account.
2. Create a Sub-Account
After logging in, navigate to:【Rotating Residential Proxies】 → 【User & Pass Auth】 → 【Create Sub-Account】
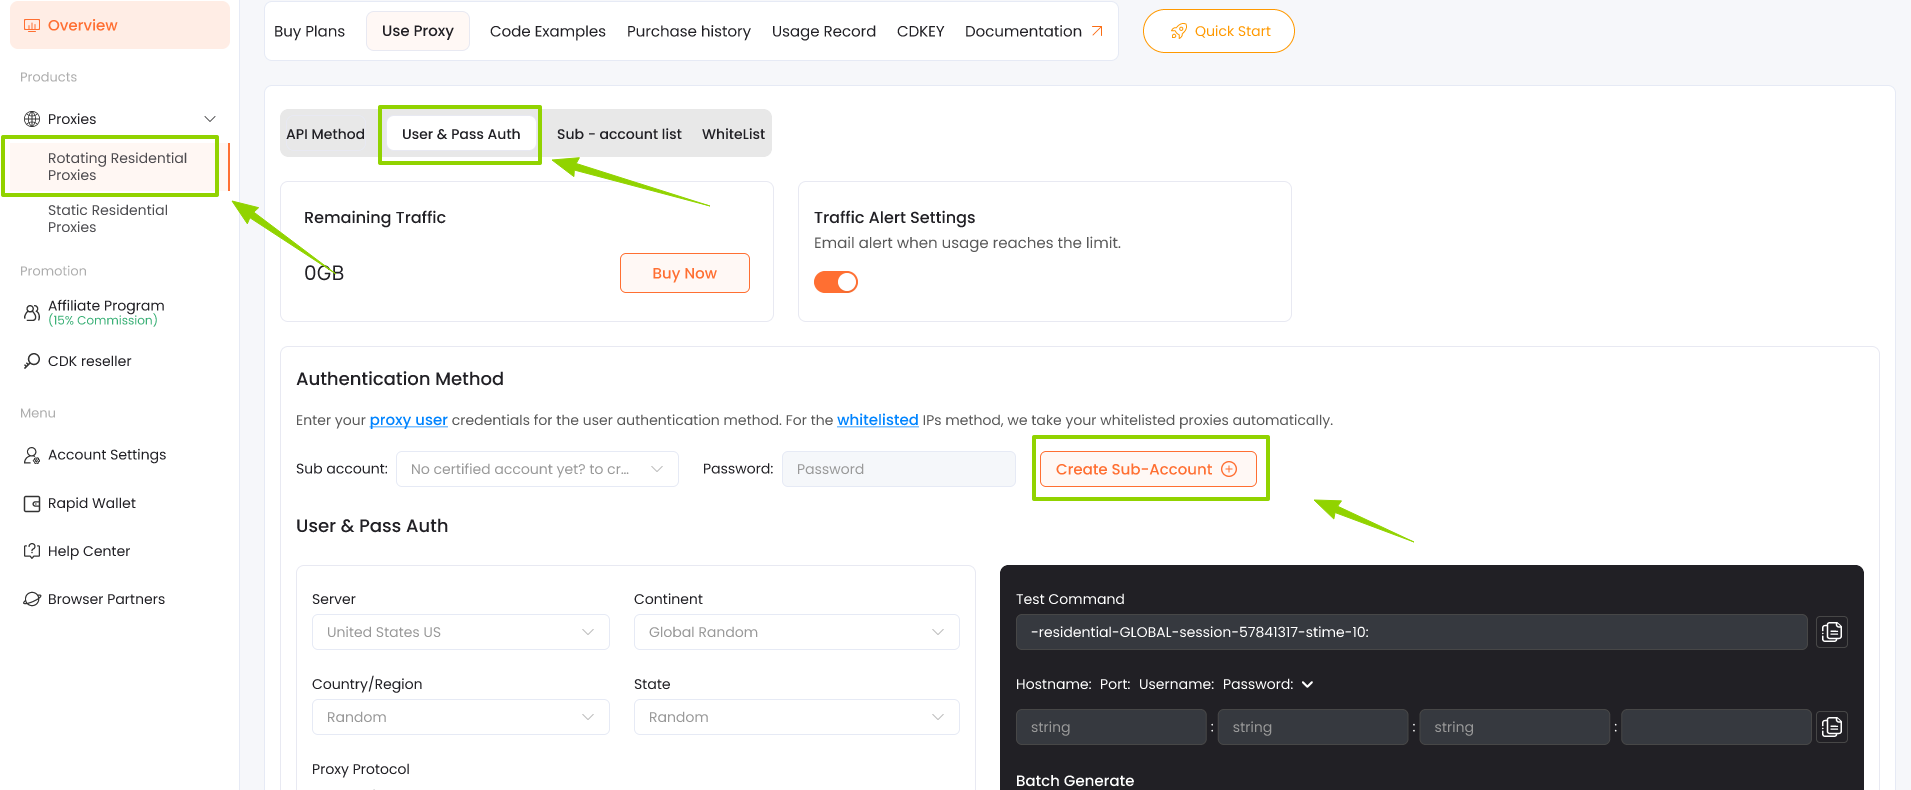
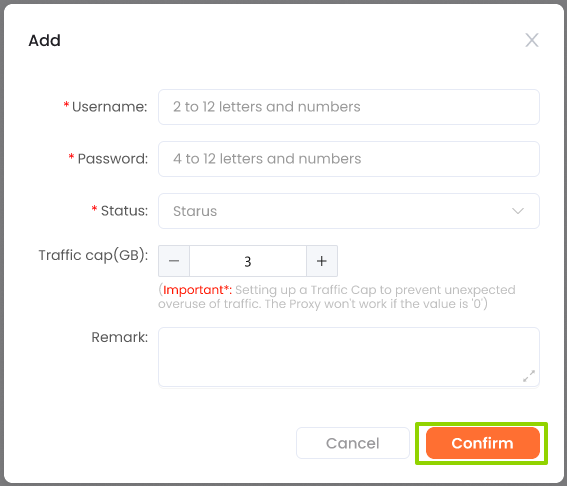
In the pop-up window, complete the following fields:
- Username: 2–12 characters (letters and numbers)
- Password: 4–12 characters (letters and numbers)
- Status: Set to 【Enable】
- Traffic Cap (GB): Enter -1 to allow unlimited traffic
- Click 【Confirm】 to create and save the sub-account.
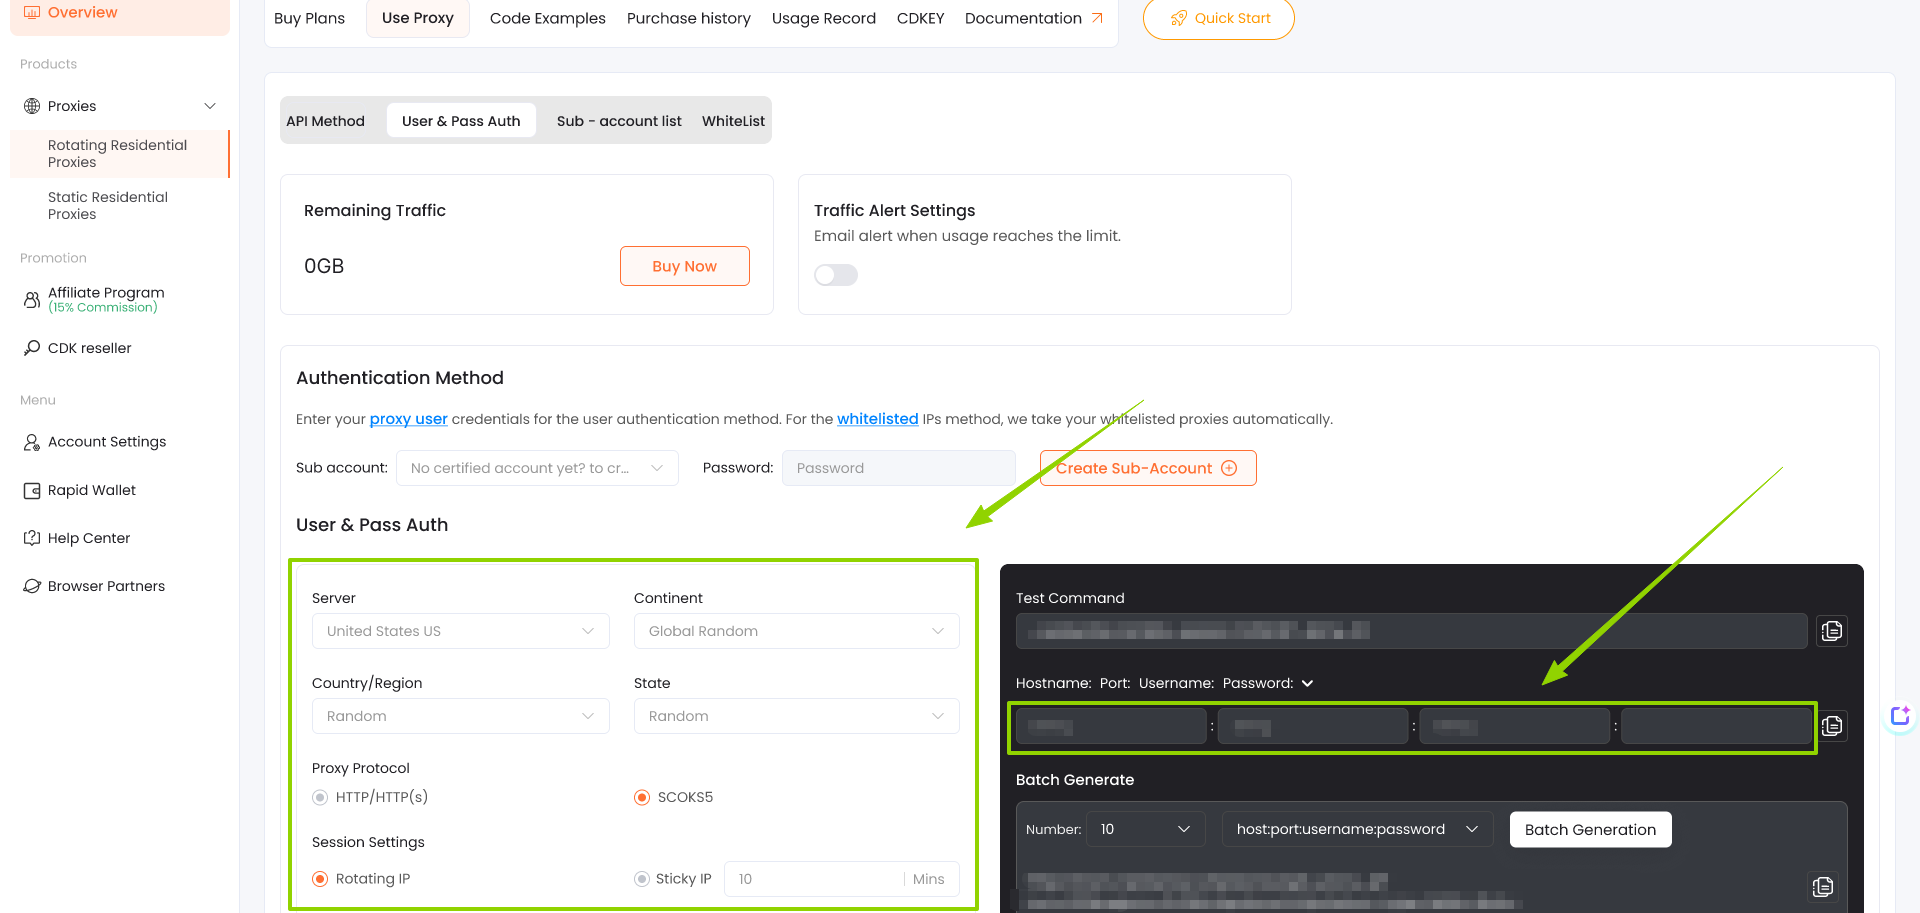
3. Configure Proxy Parameters
- Configure the proxy parameters according to your requirements:
- Country/region selection
- Rotation interval
- Proxy protocol (HTTP/HTTPS/SOCKS5)
- Other optional targeting rules
Copy the proxy string generated by RapidProxy and import it into your proxy client, browser, or automation tool.
If you need a more detailed walkthrough, you can check the full guide at the link below.
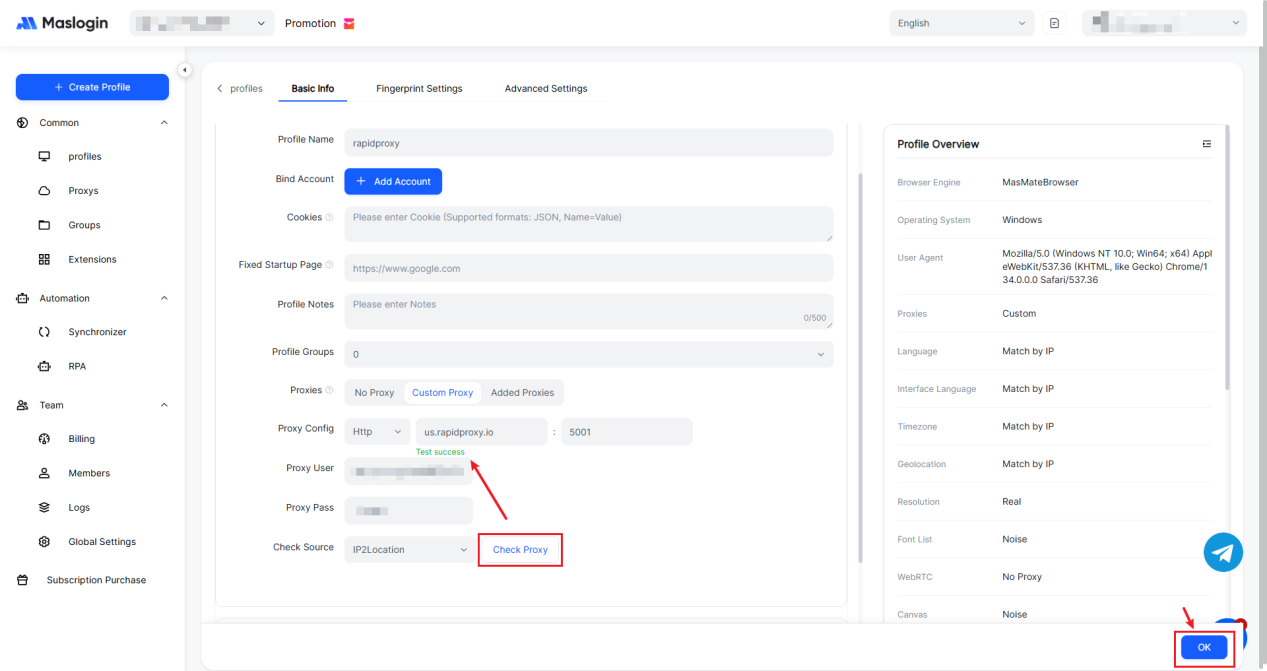
Step 4: Configure Proxy Settings
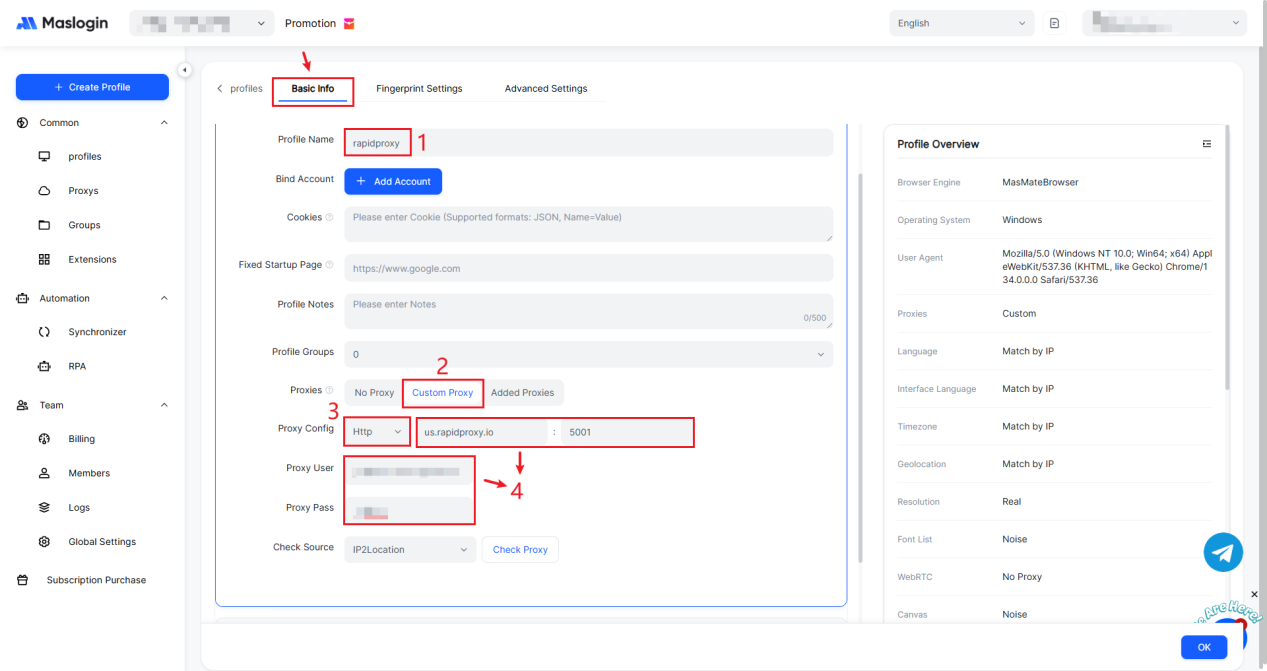
Creating an environment requires at least the following basic information:
1. Enter a name for your profile, such as "rapidproxy".
2. In the Proxies section, choose 【Custom Prosy】.
3. Set Proxy Config to 【HTTP】.
4. Paste the proxy information provided by RapidProxy, including: IP Address:Port:Username:Password
Step 5: Test the Proxy Connection
After entering the settings, click Check Proxy to verify the connection.
If successful, you'll see "Test success".
Click OK to save all your configuration.
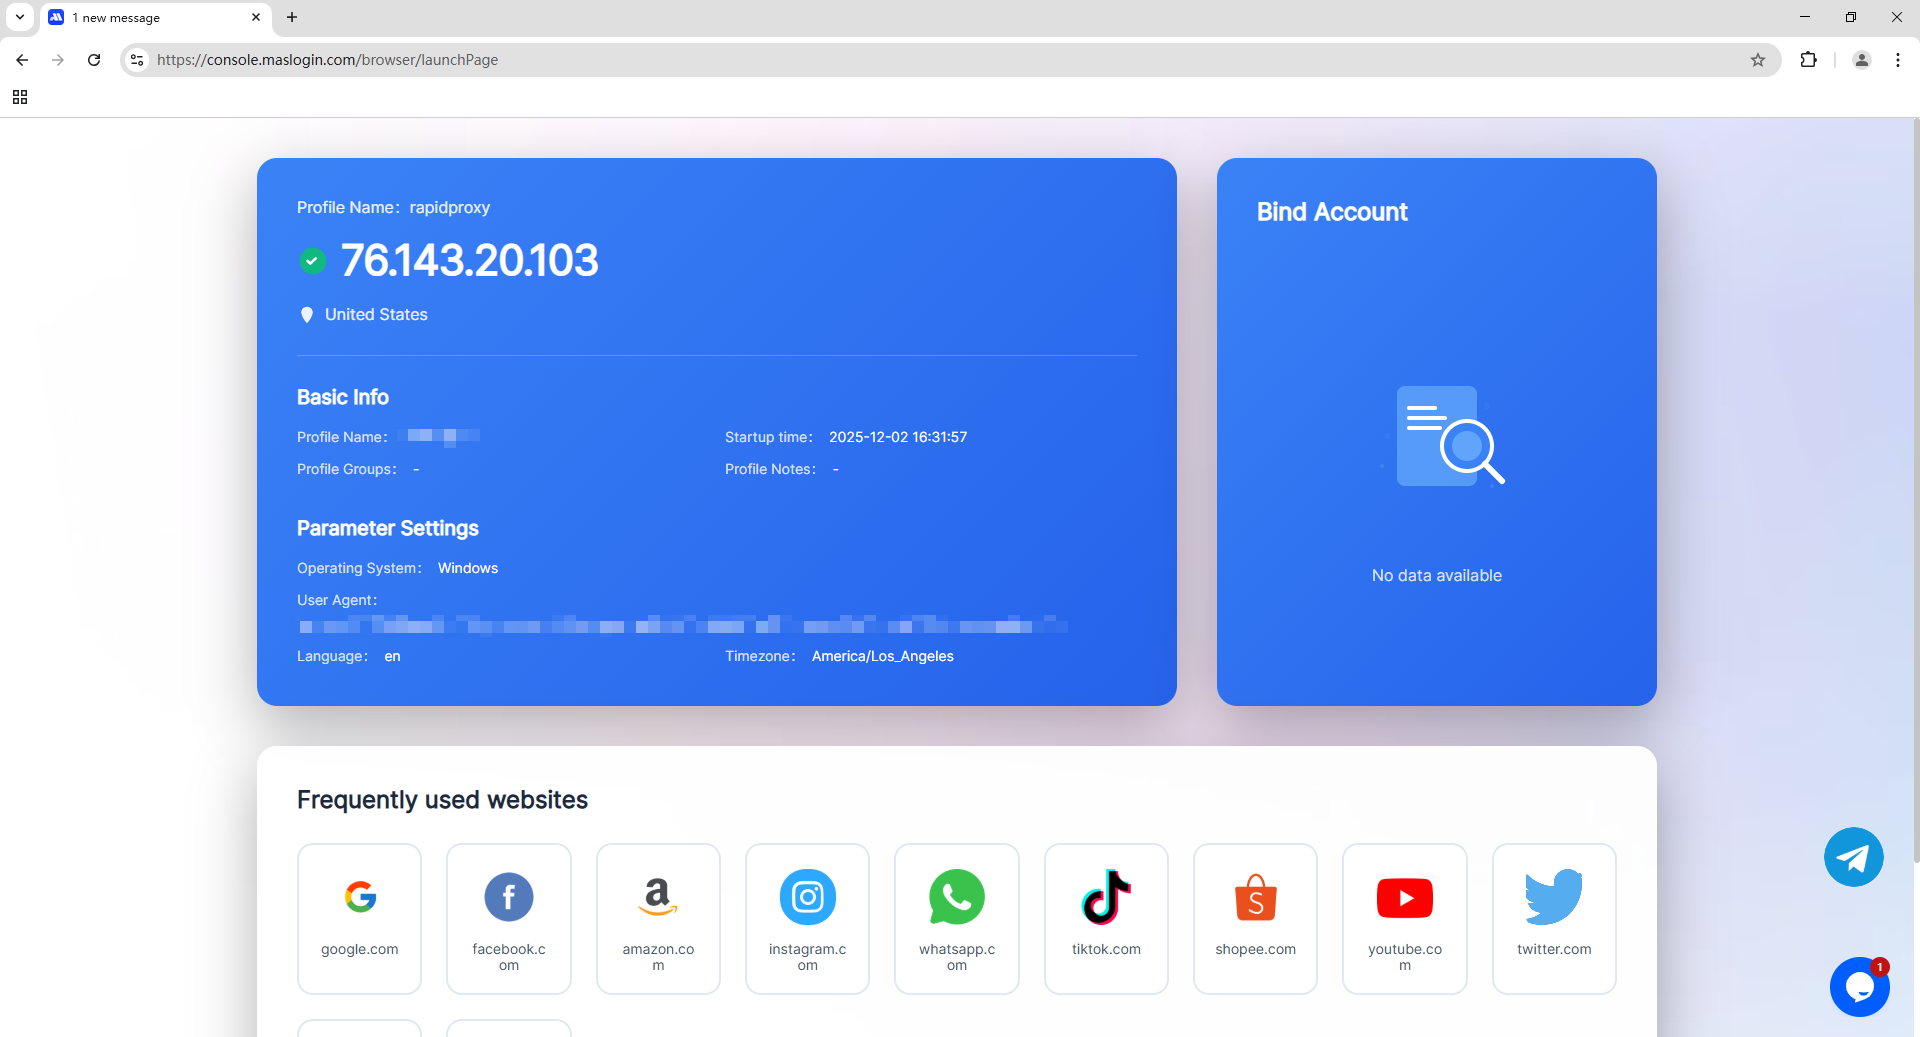
Step 6: Start Using the Proxy
Click Open to launch the configured environment.
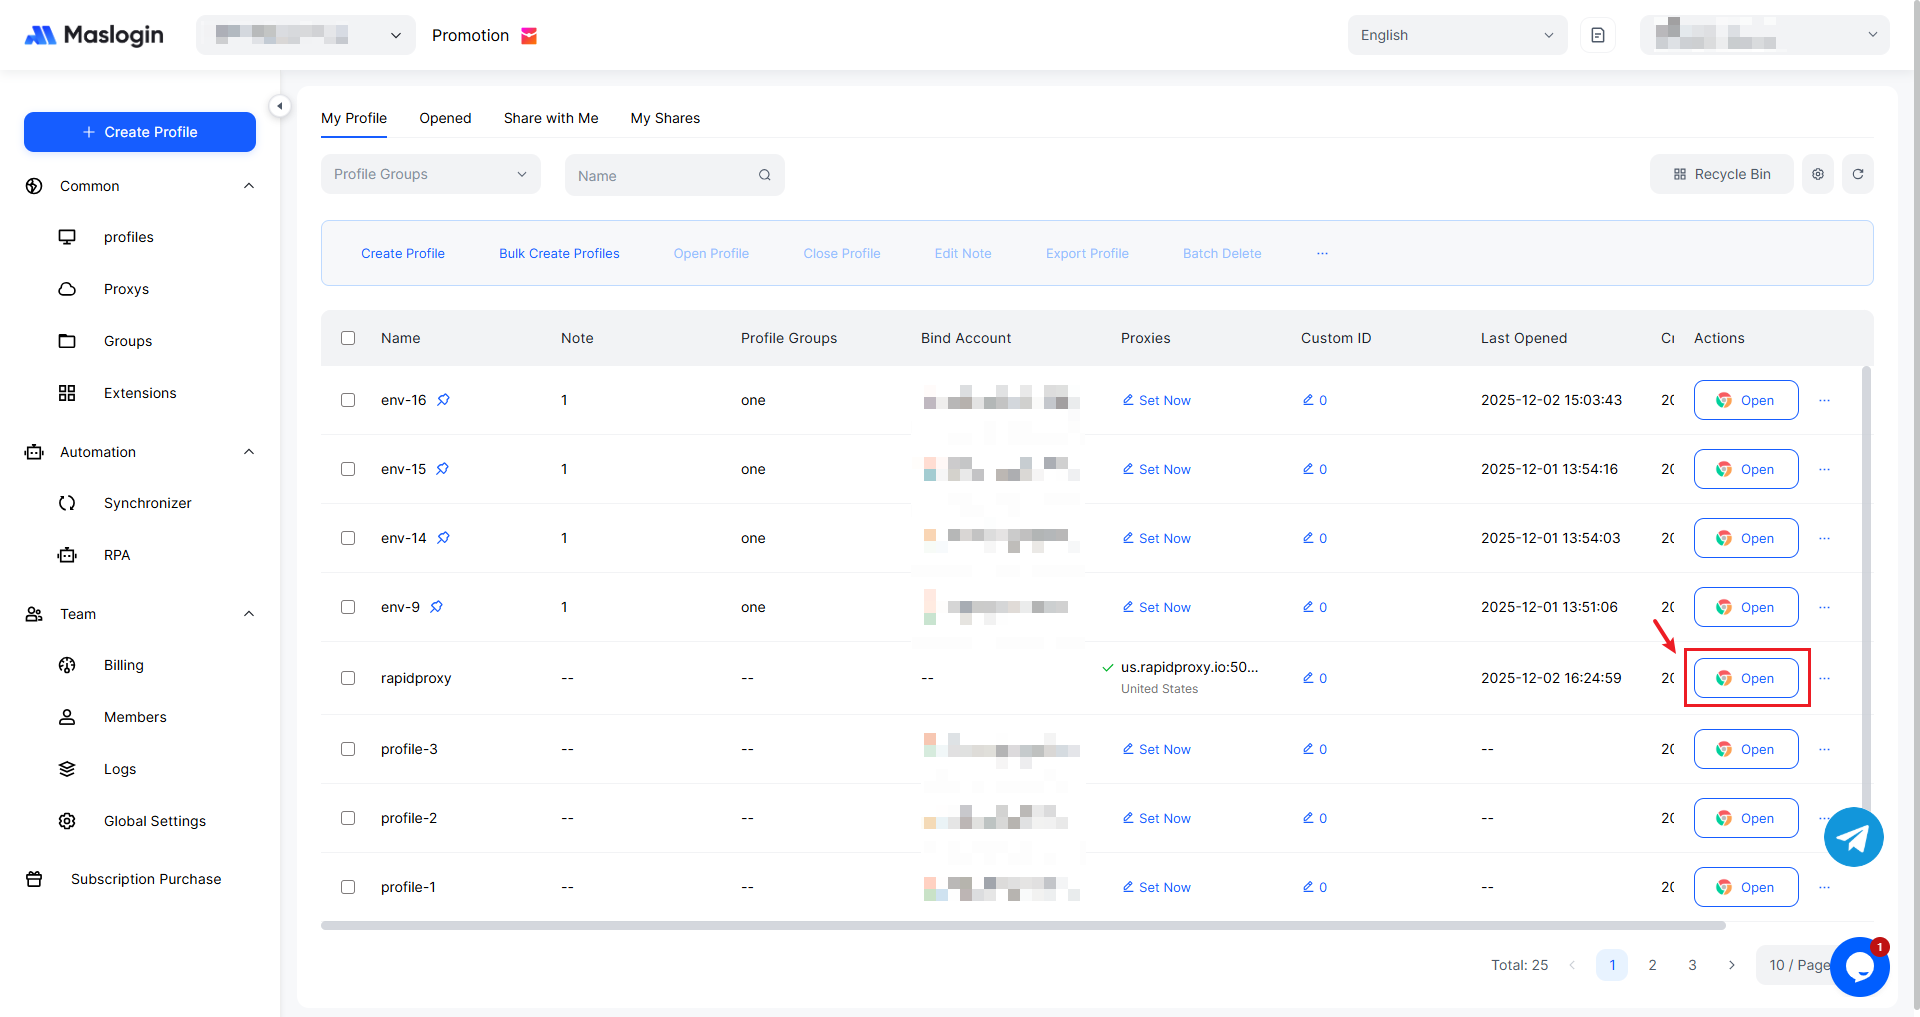
You' re now ready to browse safely and securely with RapidProxy in MasLogin.